
 Power Supply
 Electronic Components
 Development Boards
 Sensors
 Drone Parts
 IoT & Wireless
 E-Bike Parts
 Mechanical components and workbench tools


Hurry and get discounts on all Raspberry Products up to 20%
IBOTS1000
₹449.00 ₹360.00
Free
₹75 for parcels below 1 Kg and ₹100 for parcels weighing between 1 Kg to 2 Kg.
2-3 Days
₹75
₹125 for parcels below 1 Kg and ₹175 for parcels weighing between 1 Kg to 2 Kg.
2-3 Days
₹125
₹250 for parcels below 1 Kg and ₹325 for parcels weighing between 1 Kg to 2 Kg.
2-3 Days
₹250
Our courier will deliver to the specified address
2-3 Days
Rs. 99
Payment Methods:
1. Order the Product and Specify the Delivery Method
2. You Will Receive an Order Confirmation Message
3. Wait for Your Order to Arrive
4. Pick up Your Order at The Checkout Area
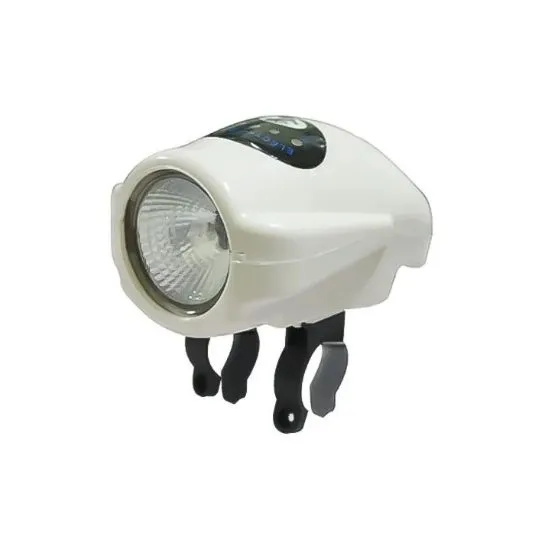
High Qulity cycle light and horn very easy to install any Electric cycle.
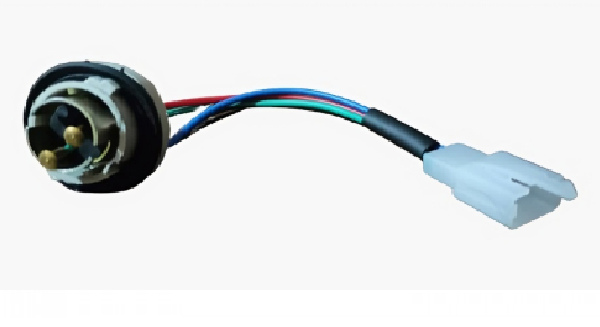
It sounds like you’re looking to create a system that incorporates a 24V headlight with additional features like a horn and battery indication. This could be for a variety of applications such as a bicycle, motorcycle, or even a small vehicle. Here’s a basic outline of how you might go about creating such a system:
Only logged in customers who have purchased this product may leave a review.
Categories
Useful Links
Useful Links
No one rejects, dislikes.
It has survived not only.
All the Lorem Ipsum on.
All the Lorem Ipsum on.
 Power Supply
 Electronic Components
 Development Boards
 Sensors
 Drone Parts
 IoT & Wireless
 E-Bike Parts
 Mechanical components and workbench tools
No account yet?
Create an Account
Reviews
Clear filtersThere are no reviews yet.