-11%
 Power Supply
 Electronic Components
 Ai Thinker ESP Wifi Modules
 Current Sensors
 Drone Parts
 IoT & Wireless
 E-Bike Parts
 Mechanical components


Hurry and get discounts on all Raspberry Products up to 20%
IBOTS1000
₹9,000.00 Original price was: ₹9,000.00.₹8,000.00Current price is: ₹8,000.00.
Out of stock
Out of stock
Free
₹75 for parcels below 1 Kg and ₹100 for parcels weighing between 1 Kg to 2 Kg.
2-3 Days
₹75
₹125 for parcels below 1 Kg and ₹175 for parcels weighing between 1 Kg to 2 Kg.
2-3 Days
₹125
₹250 for parcels below 1 Kg and ₹325 for parcels weighing between 1 Kg to 2 Kg.
2-3 Days
₹250
Our courier will deliver to the specified address
2-3 Days
Rs. 99
Payment Methods:
1. Order the Product and Specify the Delivery Method
2. You Will Receive an Order Confirmation Message
3. Wait for Your Order to Arrive
4. Pick up Your Order at The Checkout Area
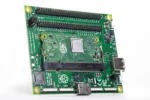
Both the Compute Module and the CMIO board can be damaged by static electricity (electrostatic discharge or ESD). Please take adequate precautions against static discharge during handling.
For a complete list of the contents of the development kit, please see the Specifications section.
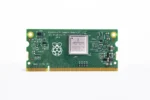
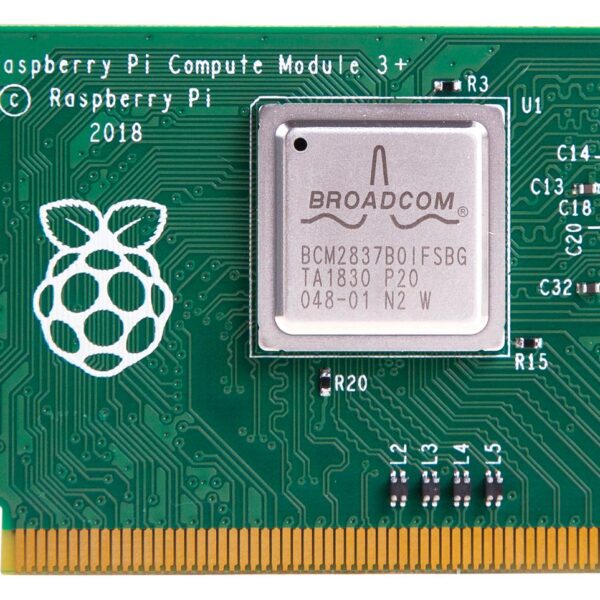
First insert the CM at a 45-degree angle, then gently press down on both top corners of the CM (where the holes are) until it clicks into place.
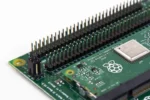
Please make sure that the two jumpers that power the GPIO bank 0 and 1 voltages are present on J3, and set to the voltage you wish to use. Do not power up the board if these jumpers are not attached (and hence the GPIO bank(s) are unpowered), as this may damage the Module.
Make sure the CM is inserted correctly into the socket (J1). Make sure the GPIO banks are powered (make sure J3 has jumpers present and set correctly). Attach a micro USB power supply to J2 (POWER IN) to power up the board.
Note that at this point the red power LED and green ACT LED should light up. Nothing further should happen (because the Compute Module Flash (eMMC) is blank).
The next step is to write an operating system image to the onboard eMMC Flash. Once this is done, the board should boot into the OS of your choice when you power up.
Only logged in customers who have purchased this product may leave a review.
Categories
Useful Links
Useful Links
 Power Supply
 Electronic Components
 Ai Thinker ESP Wifi Modules
 Current Sensors
 Drone Parts
 IoT & Wireless
 E-Bike Parts
 Mechanical components
No account yet?
Create an Account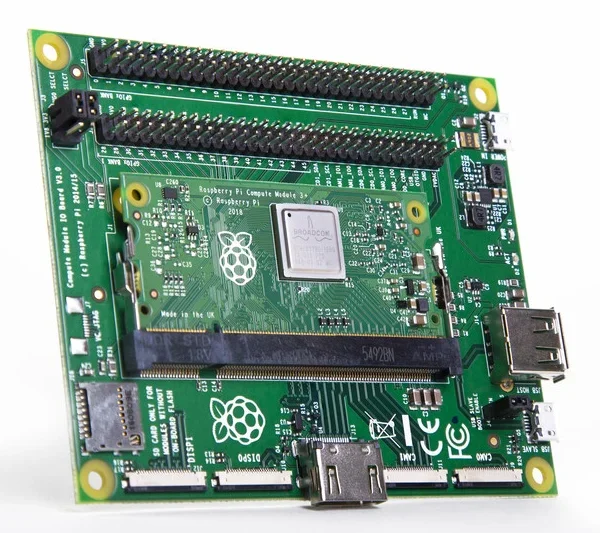
Out of stock
Reviews
Clear filtersThere are no reviews yet.